This time I unscrewed the lens/IR filter assembly which was attached to the PCB to expose the CCD itself. I cut a square out of the center of the lid to a black plastic 35mm film canister and mounted it inside-facing-out on the PCB, surrounding the CCD by "drilling" holes for the lens housing screws and driving the screws gently through.

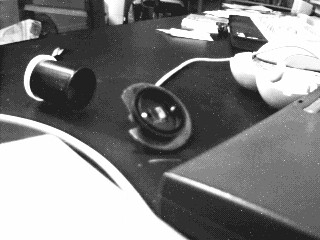
I then cut the bottom off of the film canister and plugged it into its lid on the PCB. Some Elmers glue now holds it in place. For a more permanent attachment you could thread some small nuts onto the protruding screws to ensure that the tube adapter doesn't fall off the PCB. I remembered to do this only after the glue was in place, of course. But the film canister is easily replaced
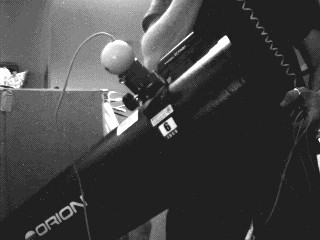
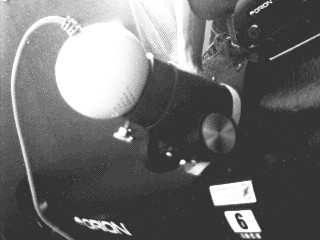
Using a hacksaw and pocketknife, I trimmed the front of the ball back enough to allow the ball to close up around the film canister/focusing tube adapter. I replaced the stabalizing weight inside the ball to keep the weight of the camera as close to that of an eyepiece as possible since my dobsonian scope is delicately balanced. Incidentally, the new dobsonians from Orion look beautiful and include a hinge stabalization mechanism which should aleviate this problem. I discovered happily that the lid to one of the two common clear film canisters fits snugly over the trimmed bottom of the black canister as a perfect lens cap.
The outer diameter of the film canister fits nicely inside a standard 1 1/4" focusing tube. The eyepiece retaining screw locks the camera in place.
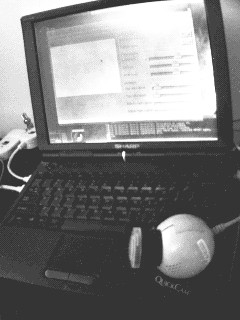
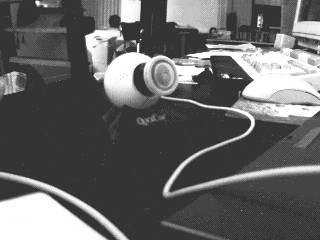
Here's a gratuitous photo of my mobile Astrophotography unit.